

About Tookan
Tookan poses a three-way utility for Mobile Workforce Management Businesses like Pick & Drop Service Providers, healthcare, beauty etc.
Step 1: Registration as Service Provider by Business Owner:
Here is what the app would look like.
Registration as Service Provider by Self
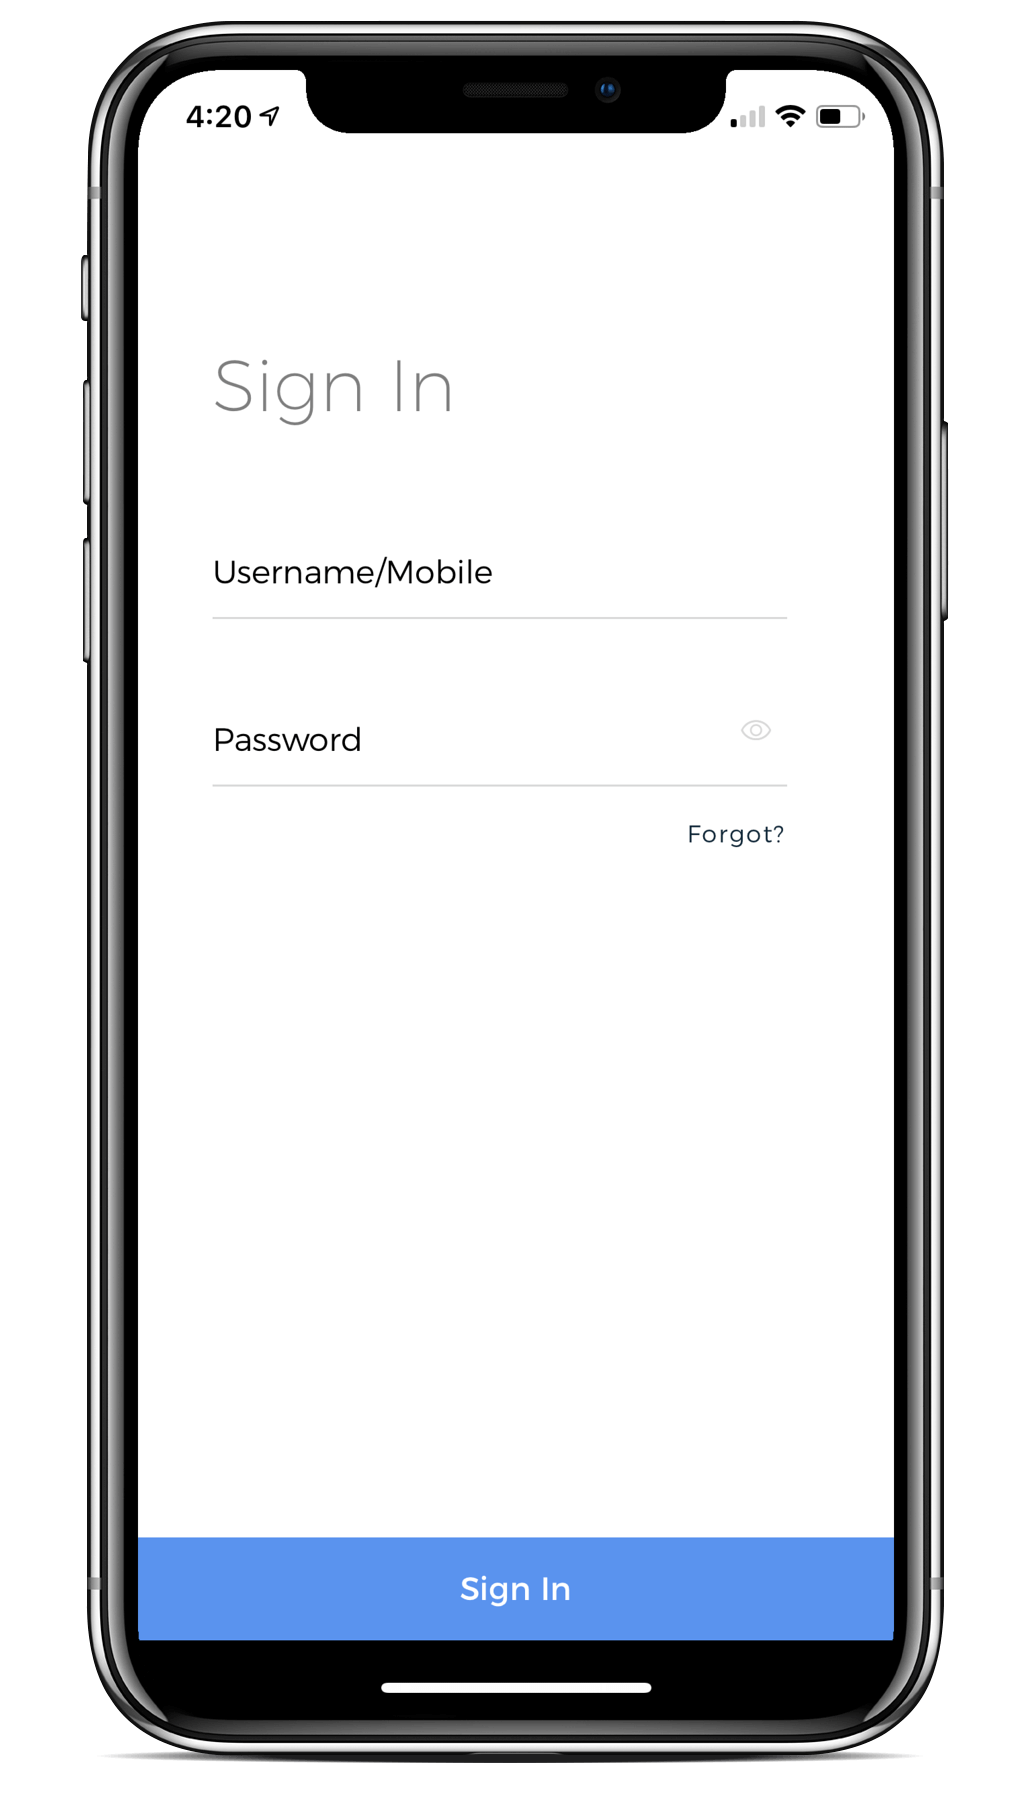
For white-labelled apps,you can register as a Service Provider yourself and can complete the registration process in 3 quick steps:
This is where the sign up process completes. After completion and submission, the admin receives an email notification with your details. Once the admin verifies your details he will activate you from his end. Post that you are live to work on the platform.
What All Information Will You Require To Sign Up On Tookan?
Step 2: Customising The Settings
After the sign up process is complete, you have full access to customise the Tookan app to suit your needs. Here’s how to customise settings on the tookan app.
To the top left of your phone screen, go to the three bar menu.
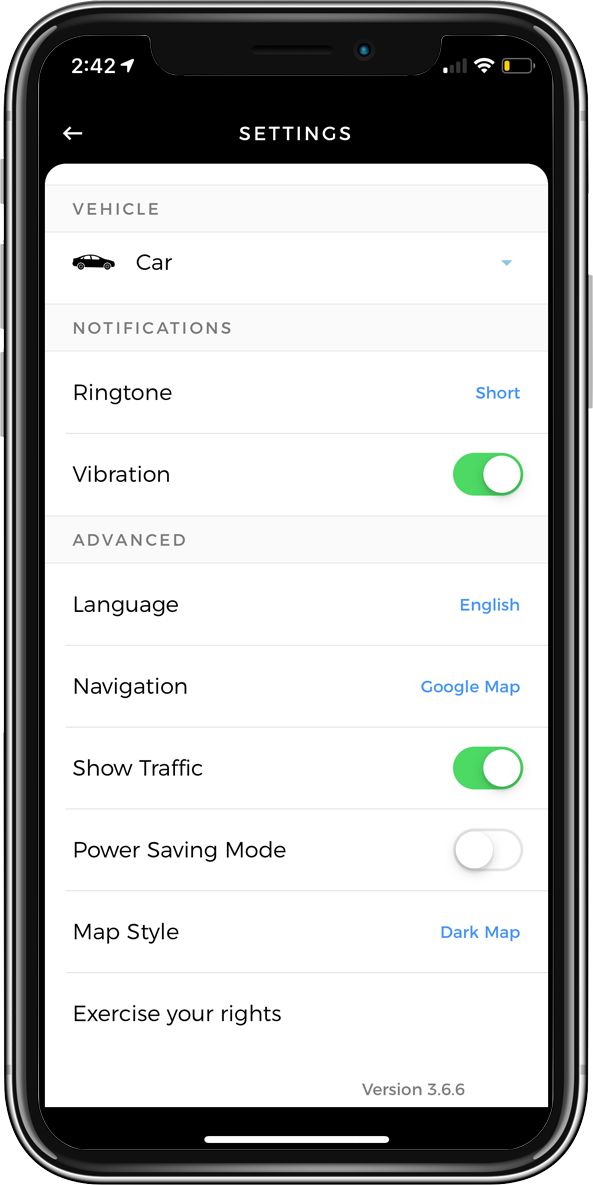
On the settings tab, the following sequence appears:
Vehicle Settings
Choose vehicle type:
As a service provider, the Tookan app allows you six means to select as your mode of transport. You can select from among:

Notification Settings
> Set Ringtone Type:
The Tookan App offers two ringtone options- short and long.
> Vibration:
Alongside a ringtone alert, an additional vibration alert notification option, when enabled will enable the phone to vibrate alongside ring when a task assignment alert is received.
Advanced Settings
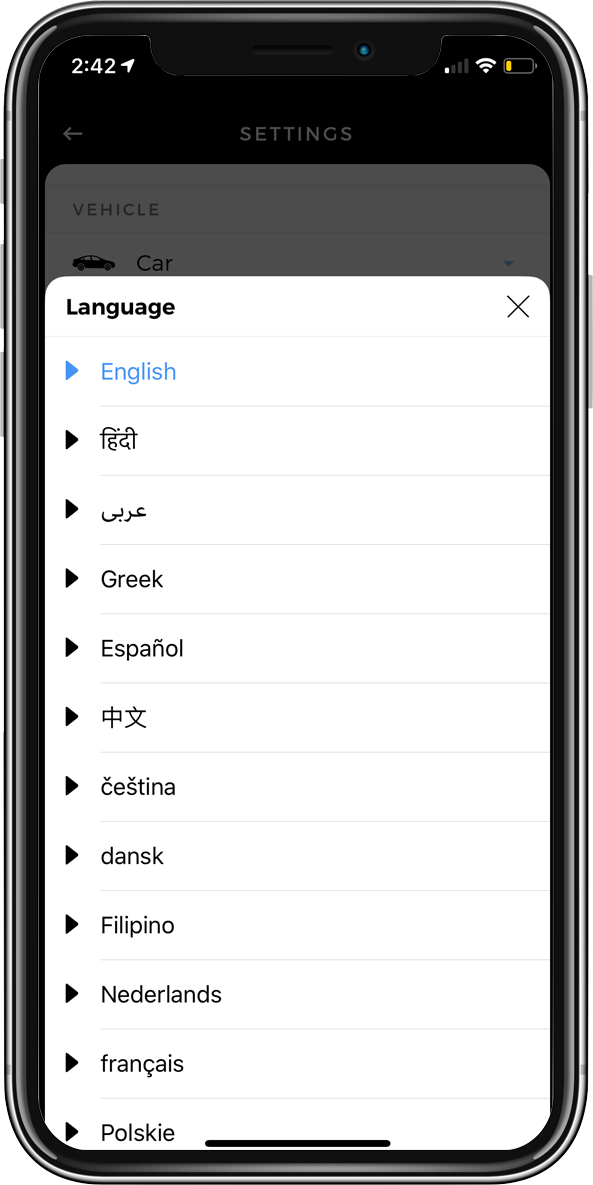
Language:
Tookan is an international field-force management system, available globally in 28 languages so far. You can choose from the available options in language that changes the default language (English) to the chosen language (French in the below case) throughout the app interface.
Navigation:
The Tookan App offers navigation provisions through three third-party mapping API’s: Google Maps, Waze and Apple Map; the most widely used one being Google Maps.
Show Traffic:
When toggled to the right (bar looks green), the Show Traffic feature is enabled. Using this feature, when you set out for a task, high traffic routes will be duly marked on the route that you are taking.
You then have a choice to select the most suitable route. This is especially helpful in cases of urgent deliveries in industrial use cases with the medical industry; so help can reach faster.
Power Saving Mode
When enabled, the power saving mode aides to save phone battery; especially valid on long days, long journeys or on the days when there are multiple tasks to be accomplished.
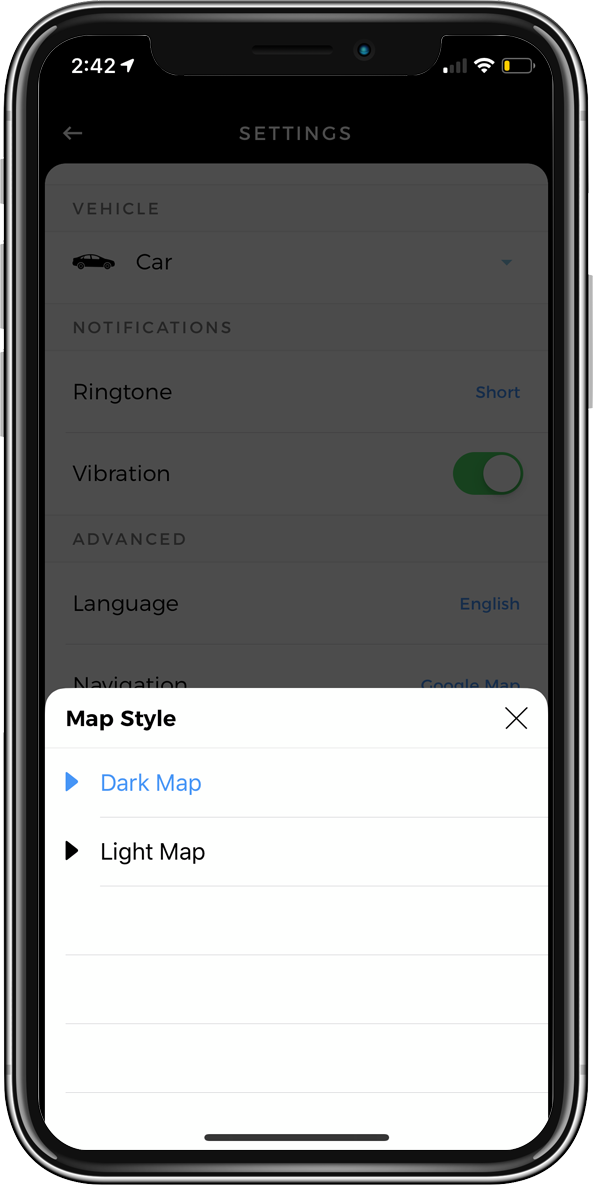
Map Style
You can customise the map view between a dark map and light map as per your visual comfort.
Exercise your Rights
Tookan believes in giving you varied rights for your best benefits.
You reserve:
Step 3: Scheduling On-Duty / Off Duty
A certain number of times, we get queries from Service Providers on why they have not been able to receive tasks even on the days they are marked available (You can mark the availability on the calendar)
Here’s why.
Ascertain that you are marked “On-duty” for whatever duration you are available to work so the administrators can assign the task to you; further reaping maximum revenues for yourself.
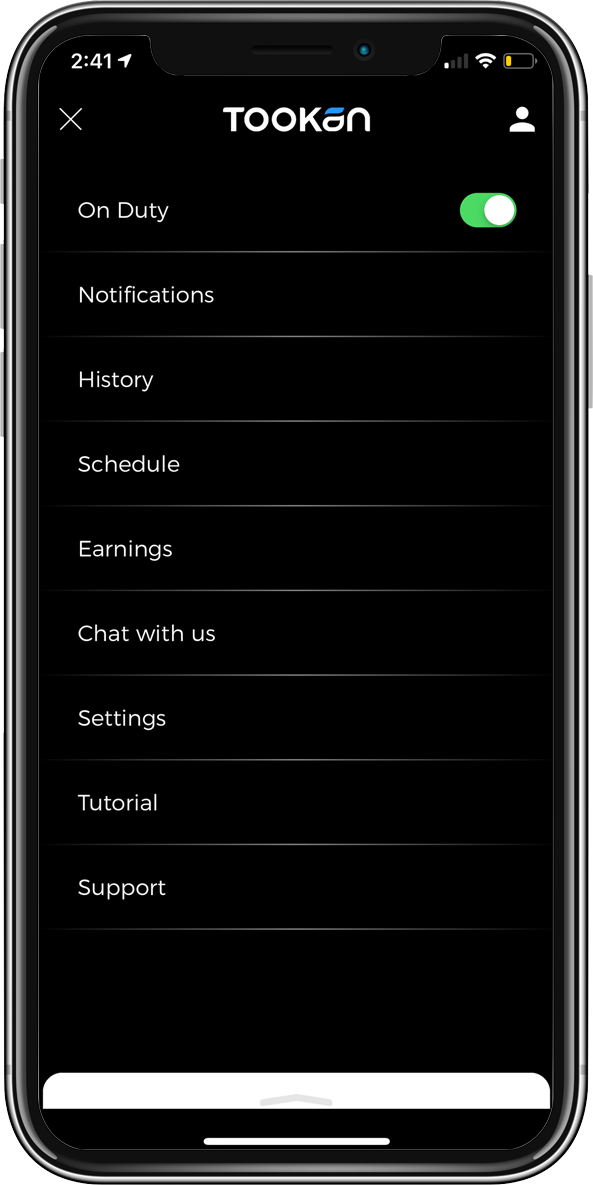
If you are marked “Off-duty”, despite marked available for the day, you may not be assigned any tasks to complete.
This feature works in your favour as well. Let’s say you marked yourself available between 9am-5pm on Monday; but something urgent came up on the personal front and you won’t be available. In such circumstances, you can mark yourself Off-duty.
Marked Available Does Not Mean You Are On Duty
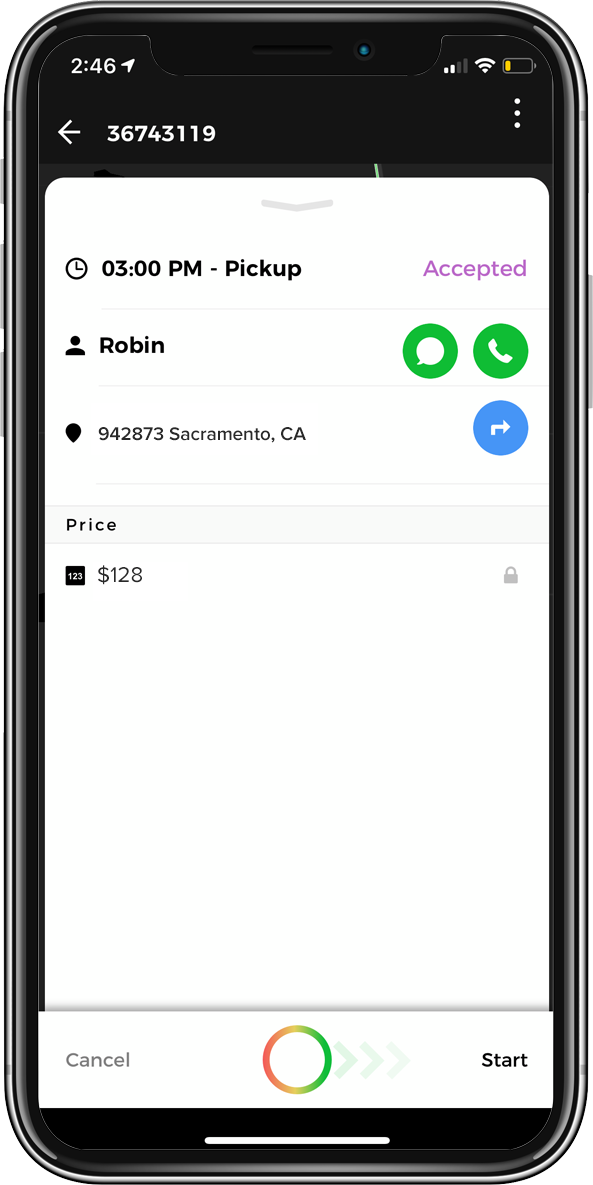
Step 4: Task Journey

*It must be noted that not all admins enable this feature. So you may or may not be able to Accept or Decline a task.
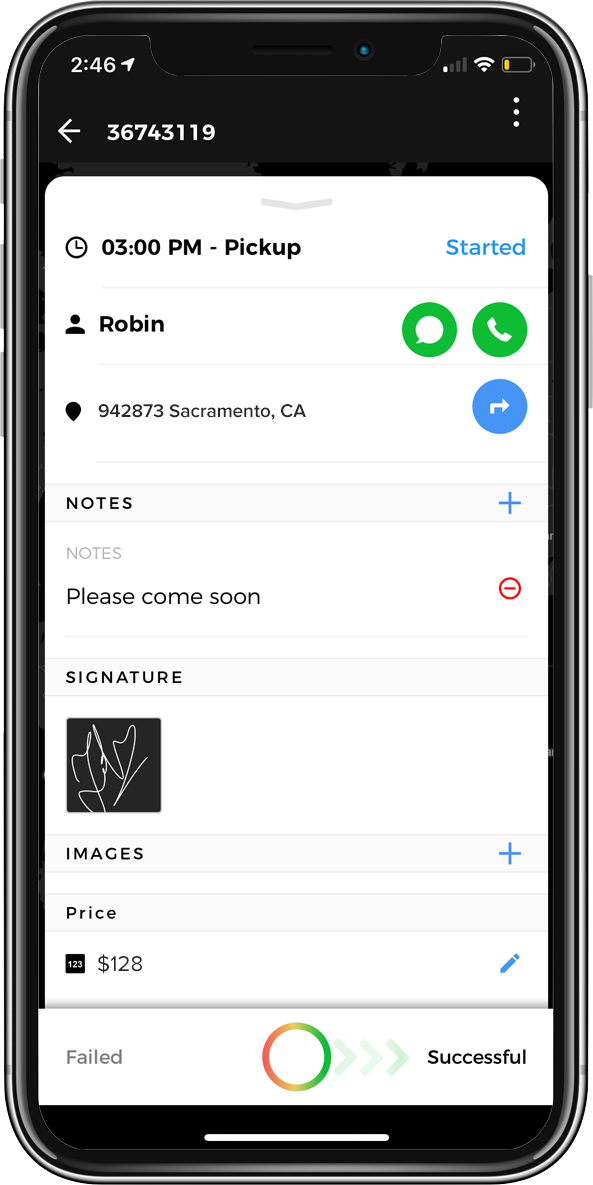
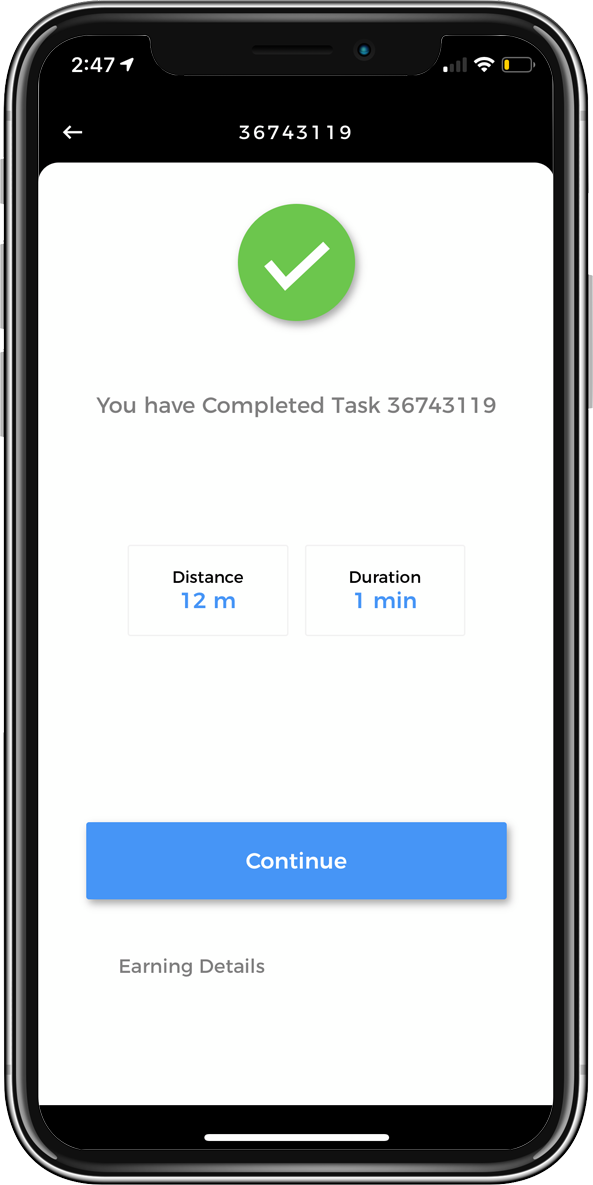
The task is now complete.
At times, it might so happen that the receiver is unavailable at the delivery address. In this scenario, the task still remains “Incomplete.”
If however, you decline the task, it will be marked as “Cancelled.”
When you acknowledge/accept a task, but haven’t yet started the job, a pop-up alert appears when you are left with 30 minutes to complete a task.
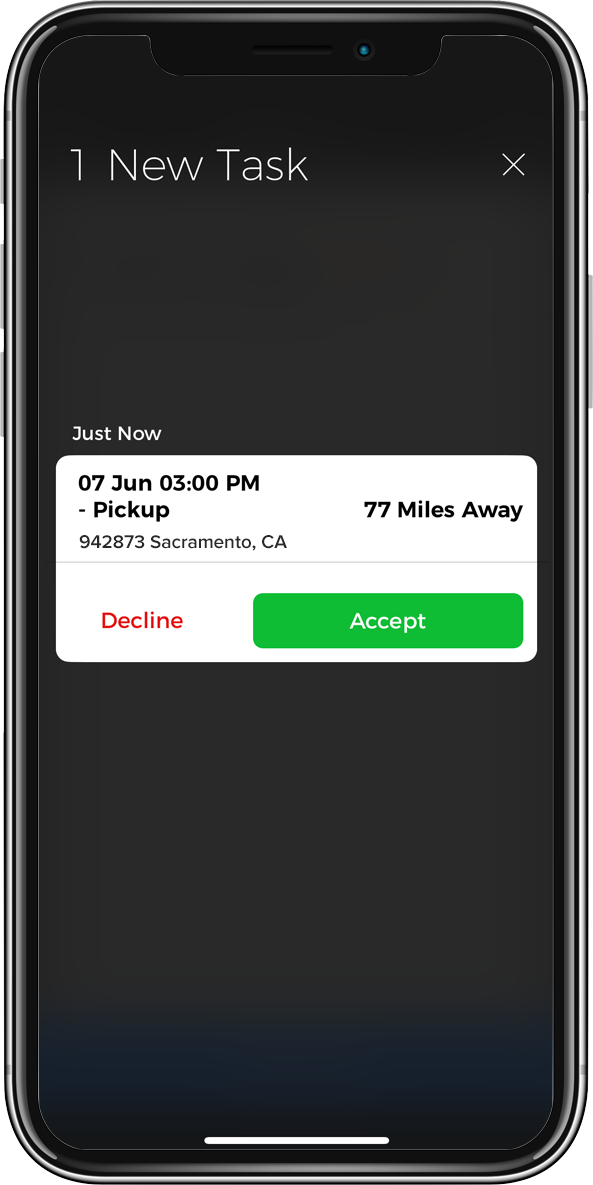
Task Journey
Task Journey
Task Journey
Task Journey
Step 5: Earnings and task history
For you to see your earnings on the mobile app, the Admin needs to enable the Pricing and Earning extension.You can see your earnings after the task completes. In the earnings tab, you can also see your weekly and monthly earnings.
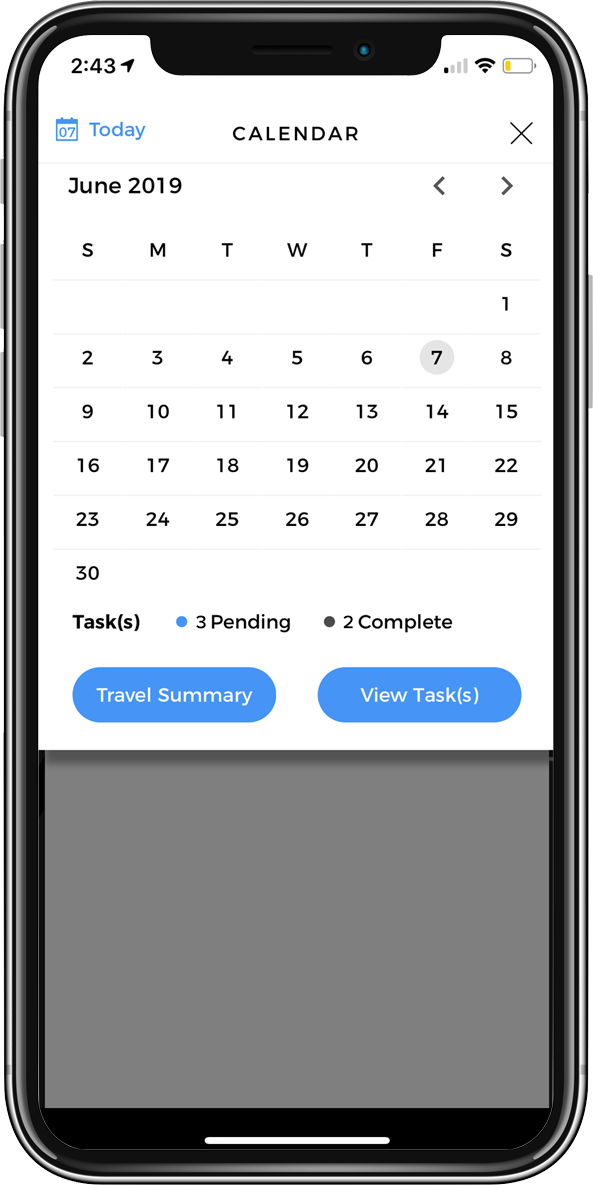
To see day wise earnings: Select the date on the calendar and see your task and earnings for that day.
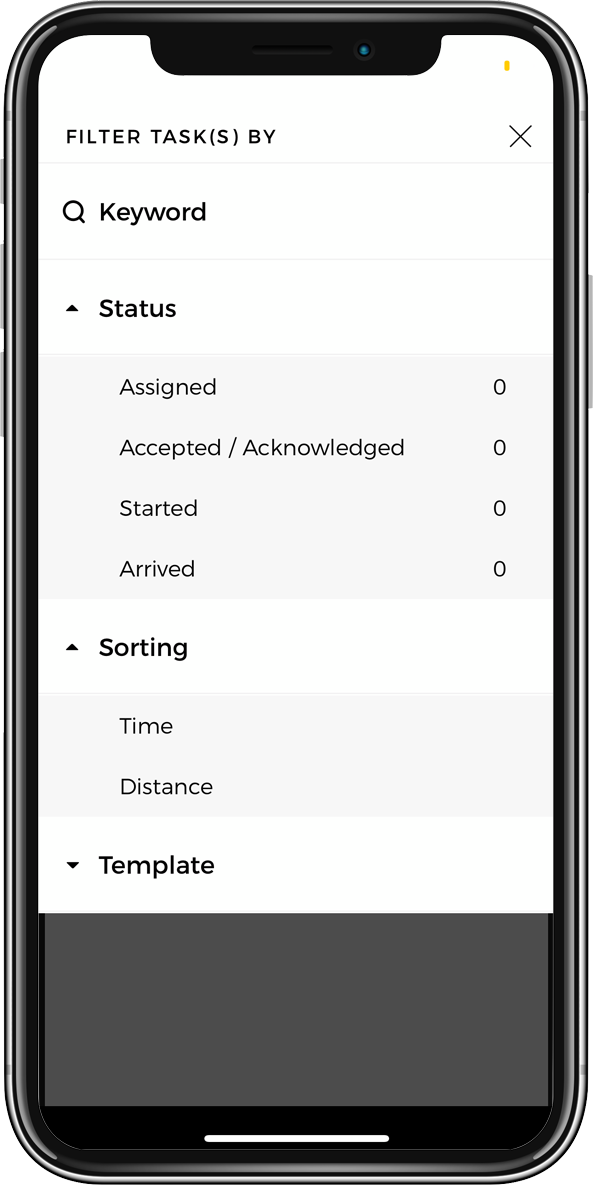
Alternatively, you can also tap on the calendar and select a particular date. All the tasks for the selected date will appear as a scrollable list. Tap on the task to view the details corresponding with it.
Task History
Calendar View
What If The Receiver Is Unavailable?
At times, it might so happen that the receiver is unavailable at the delivery address. In this scenario, the task still remains “Incomplete.”
If however you decline the task, it will be marked as “Cancelled.”
About Earnings
For you to see your earnings on the mobile app, the Admin needs to enable the Pricing and Earning extension.
You can see your earnings after the task completes. In the earnings tab, you can also see your weekly and monthly earnings.
To see day-wise earnings: Select the date on the calendar and see your task and earnings for that day.
Viewing Task History
Task history shows you the timeline of when you-
Alternatively, you can also tap on the calendar and select a particular date. All the tasks for the selected date will appear as a scrollable list. Tap on the task to view the details corresponding with it.
Reminders
When you acknowledge/accept a task, but haven’t yet started the job, a pop-up alert appears when you are left with 30 minutes to complete a task.


Boost profits, streamline operations, and scale your delivery business effortlessly.
Have our business experts on the phone to understand your company's operations and guide you through a demo customized to your business industry.
We are trusted by the best in the world


Our experts will contact you shortly
Step 1 of 3.
Take a comprehensive walkthrough of the features and functionalities that Yelo provides, and learn how you can launch and grow your hyperlocal business.
We are trusted by the best in the worldGet started with Yelo Today
Learn more about Yelo and its features during Yelo's 14 days free trial. You can set up your online hyperlocal store without coding and explore the platform on your own.
Upgrade your plan only when you're ready.
Make the best of this opportunity, explore the platform before you pay.
Learn more about Yelo and its features during Yelo's 14 days free trial. You can set up your online hyperlocal store without coding and explore the platform on your own.
Upgrade your plan only when you're ready.
Make the best of this opportunity, explore the platform before you pay.
Build a community of doctors, lawyers, astrologers, fitness experts and many more with Panther. Connect with our business experts & get a demo customized to your business requirements.
We are trusted by the best in the world


Our experts will contact you shortly
Learn more about Panther and its features during Panther's 14 days free trial. You can set up your online consultation platform without coding and explore it on your own.
Upgrade your plan only when you're ready.
Make the best of this opportunity, explore the platform before you pay.
Have our business experts on the phone to understand your brand's operations and guide you through a demo customized to your business industry.
We are trusted by the best in the worldOur experts will contact you shortly
Connect with our product specialists to understand how the world's fastest-growing companies use Tookan to optimize deliveries.
We are trusted by the best in the world


Our business experts will contact you shortly
Take a comprehensive walkthrough of the features and functionalities that Tookan provides, and learn how you can start managing your dispatch and delivery operations in a smoother manner.
We are trusted by the best in the worldYour online delivery platform is just one step away
Learn more about Tookan and its features during the 14 days free trial. You can start managing your operations with Tookan without coding. White-label your platform or upgrade your plan only when you're ready.
Make the best of this opportunity, explore the platform before you pay.

We'll walk you through the product suite and answer all your questions about Tookan.