- Products
- Solutions
- Learn
- Partner
- Try Now
Blog JW Blog
How to Setup your own video-calling Services: (Jitsi)
A perennial failure to keep in touch with far-flung friends and relatives is one of my epic failings. The pandemic has inspired me to do better, and I’ve been reaching out in recent days.
In the process, I’m becoming better acquainted with video-chatting services. We all are dependent on Skype, Google Meet, Zoom, Microsoft teams to interact with our colleague. Well, is it possible to setup our own video calling services for meeting, group video-calls?
The Answer is yes….
Here, In this blog i am going to help you to setup you own video conferencing app so that you can call your friends, share your screen, record the meeting etc.
Firstly, Lets talk about the free open source tool (Jitsi).
Jitsi is a set of open-source projects that allows you to easily build and deploy secure videoconferencing solutions. At the heart of Jitsi are Jitsi Videobridge and Jitsi Meet, which let you have conferences on the internet, while other projects in the community enable other features such as audio, dial-in, recording, and simulcasting.
Features of Jitsi
- Unlike other videoconferencing technologies, Jitsi Videobridge, the heart of Jitsi, passes everyone’s video and audio to all participants, rather than mixing them first.
- The result is lower latency, better quality and, if you are running your own service, a much more scalable and inexpensive solution.
- Jitsi is compatible with WebRTC, the open standard for Web communication.
- Jitsi supports advanced video routing concepts such as simulcast, bandwidth estimations, scalable video coding and many others.
- Ubuntu and Debian packages for easy installation.
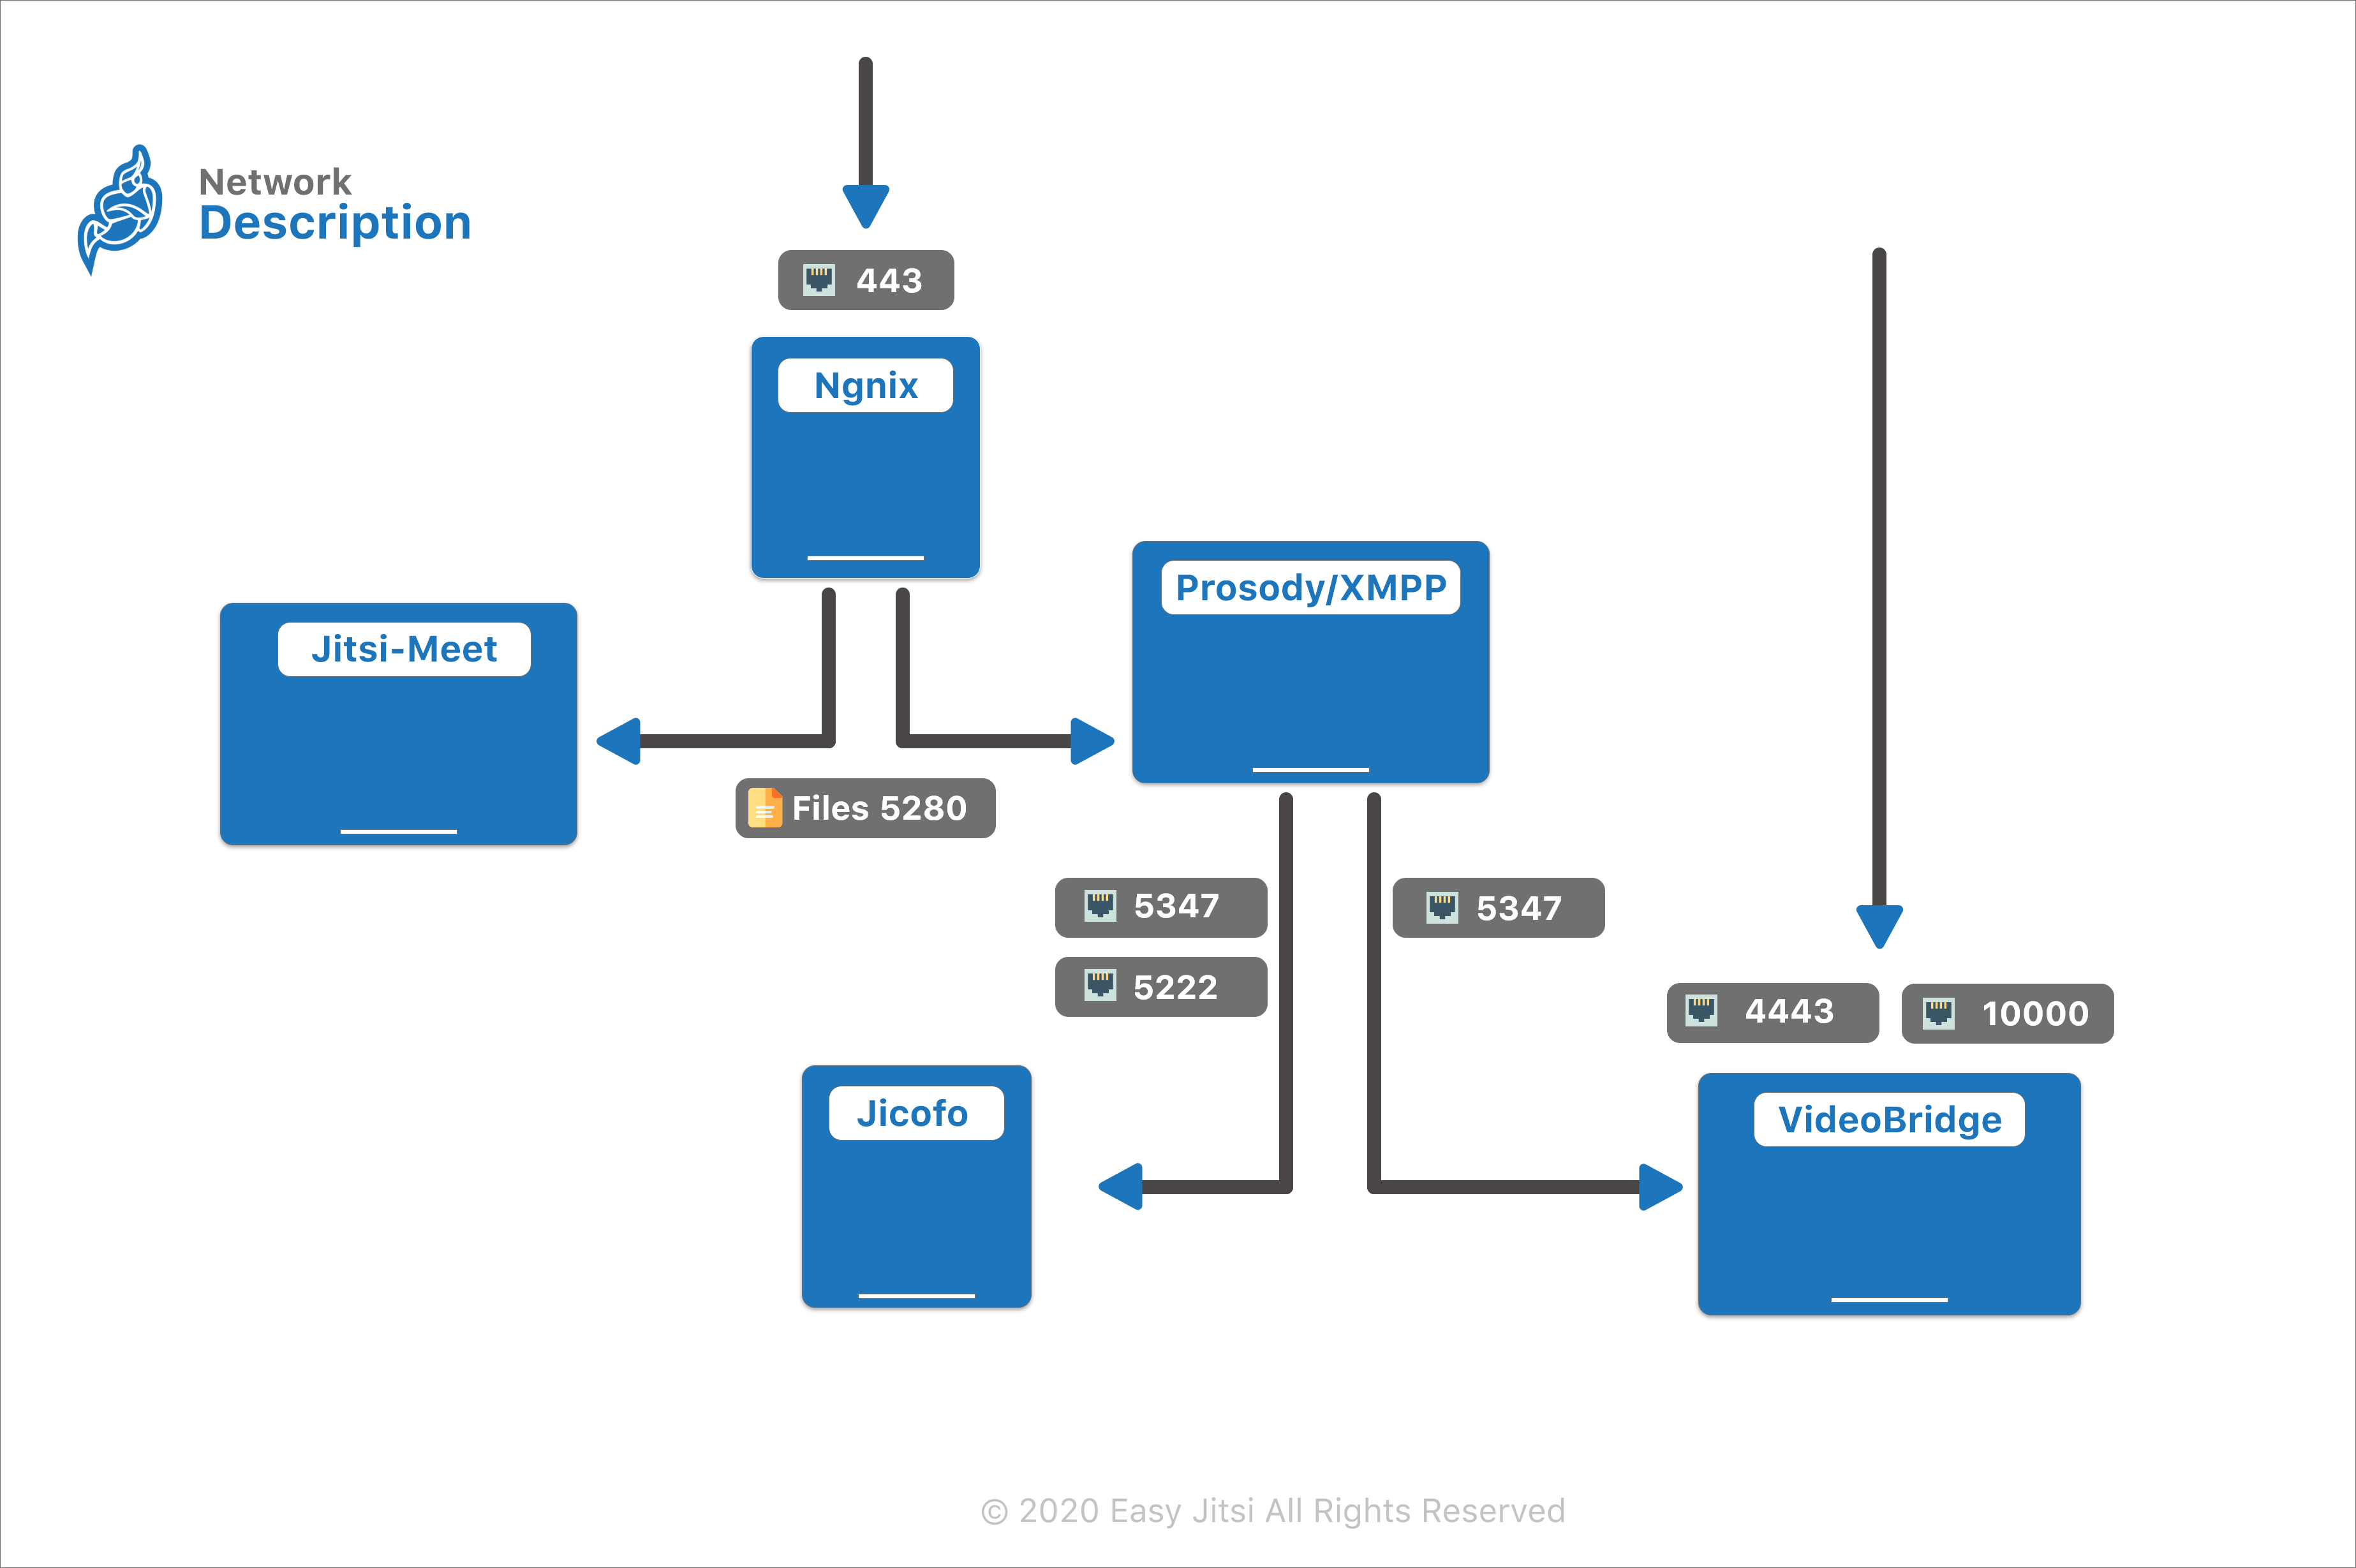
Architecture of Jitsi
- Nginx: This is a web server which can also be used as a reverse proxy, load balancer, mail proxy and HTTP cache.
- Jitsi Meet: This is a is stand alone application of the Jitsi Architecture which handles secure, simple and scalable Video Conferences for the end user.
- Prosody: This component is a modern XMPP communication server.
- Jicofo: Jicofo is a server side signalling focus component used in Jitsi Meet Conferences. It is responsible for managing media sessions between each of the participants and the videobridge.
- Jitsi-Videobridge: This is a multiuser video XMPP server component.It is also a WebRTC compatible video router or SFU that lets build highly scalable video conferencing infrastructure (i.e., up to hundreds of conferences per server).
So let’s start with the setup of our own video-calling services.
Requirement: One AWS Ec2-Instance to setup Jitsi Meet service(JMS)/
1. Go to Amazon Web Services’ Website. (link)
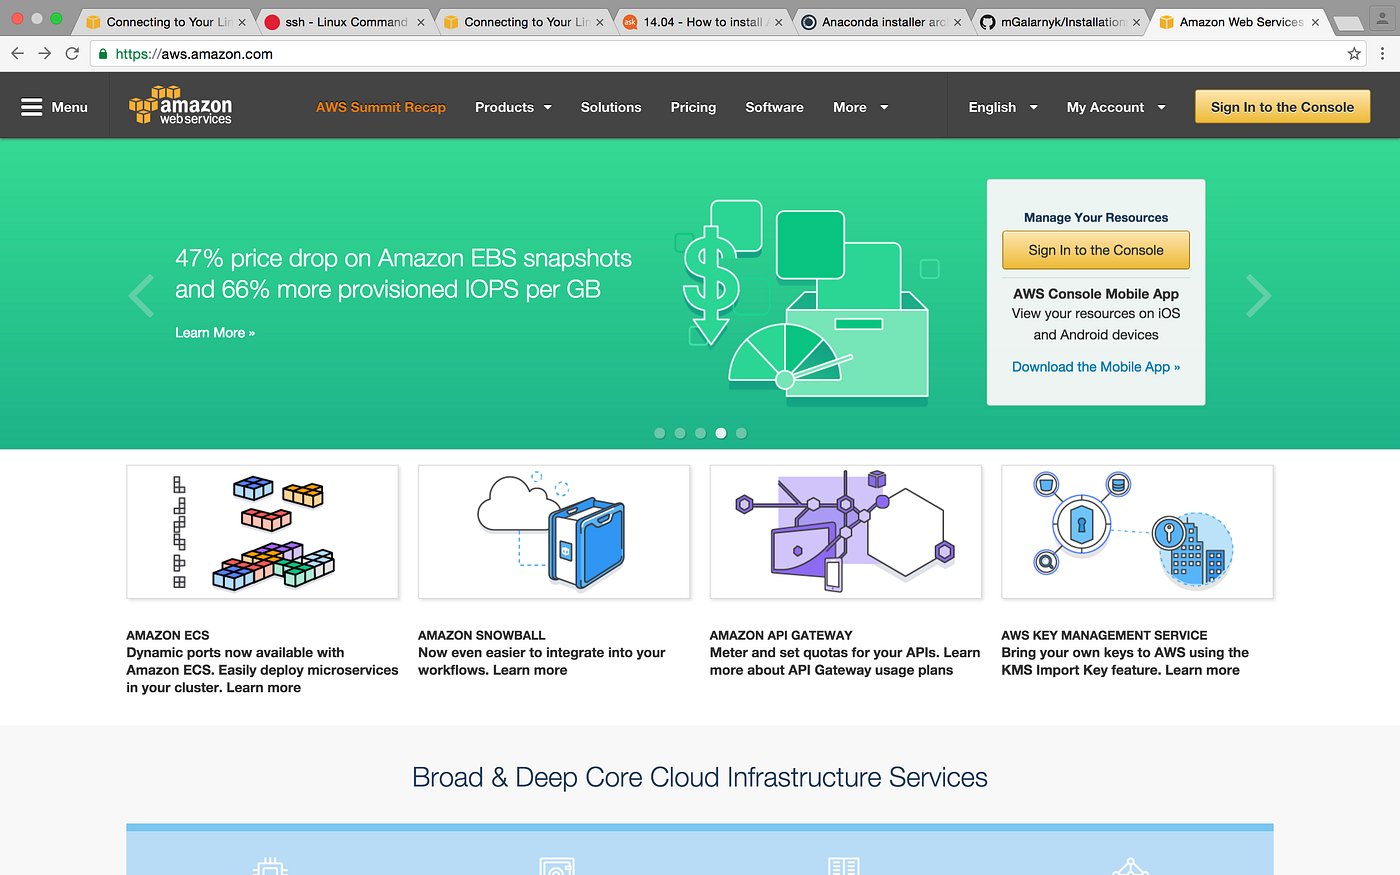
2. Sign in if you have account, if not make one

3. Click on EC2
4. Click on Launch Instance

5. Select Ubuntu

6. Select Free Tier t2 micro

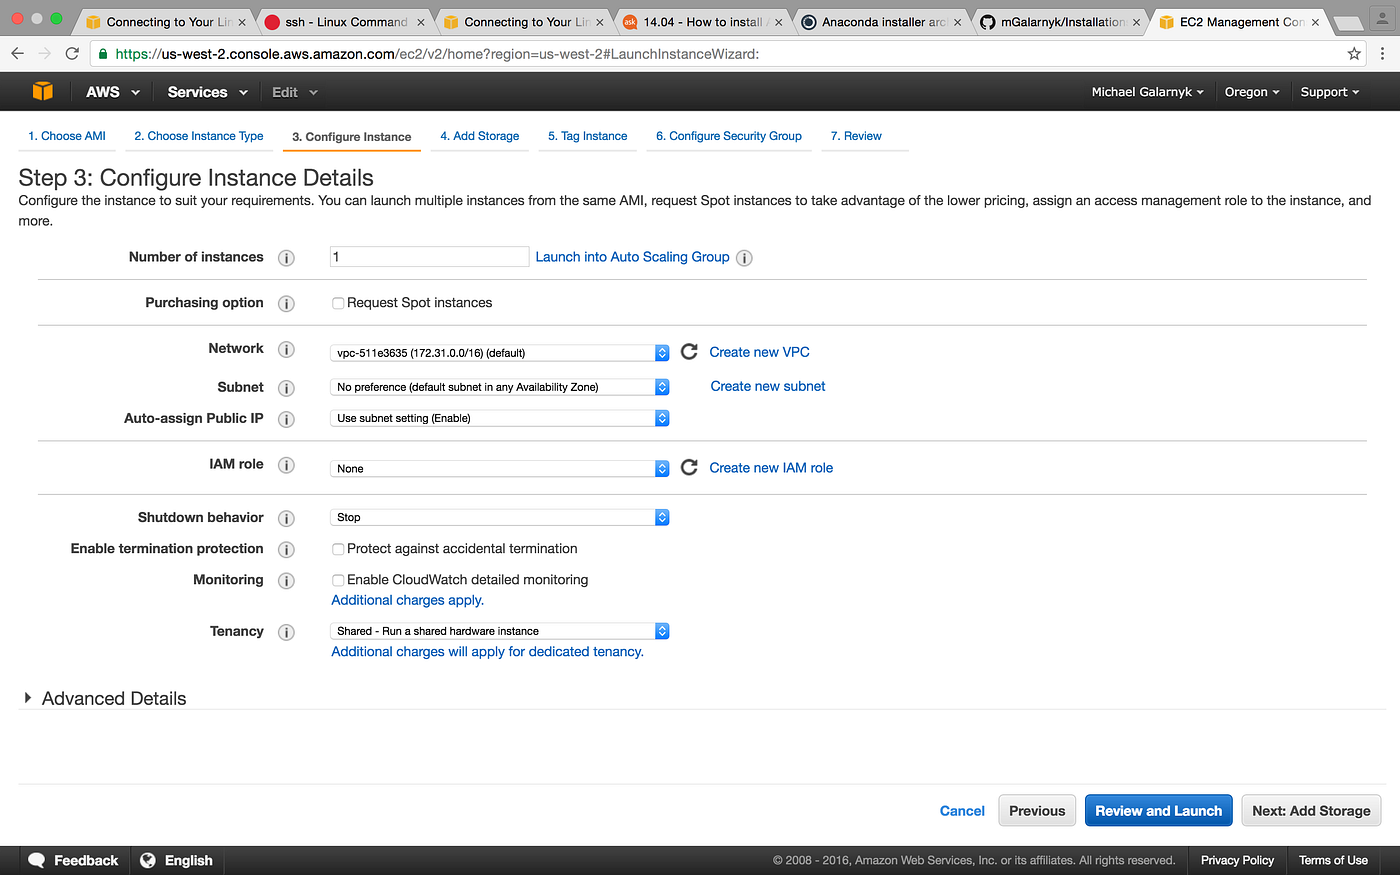
7. Configure Instance Details
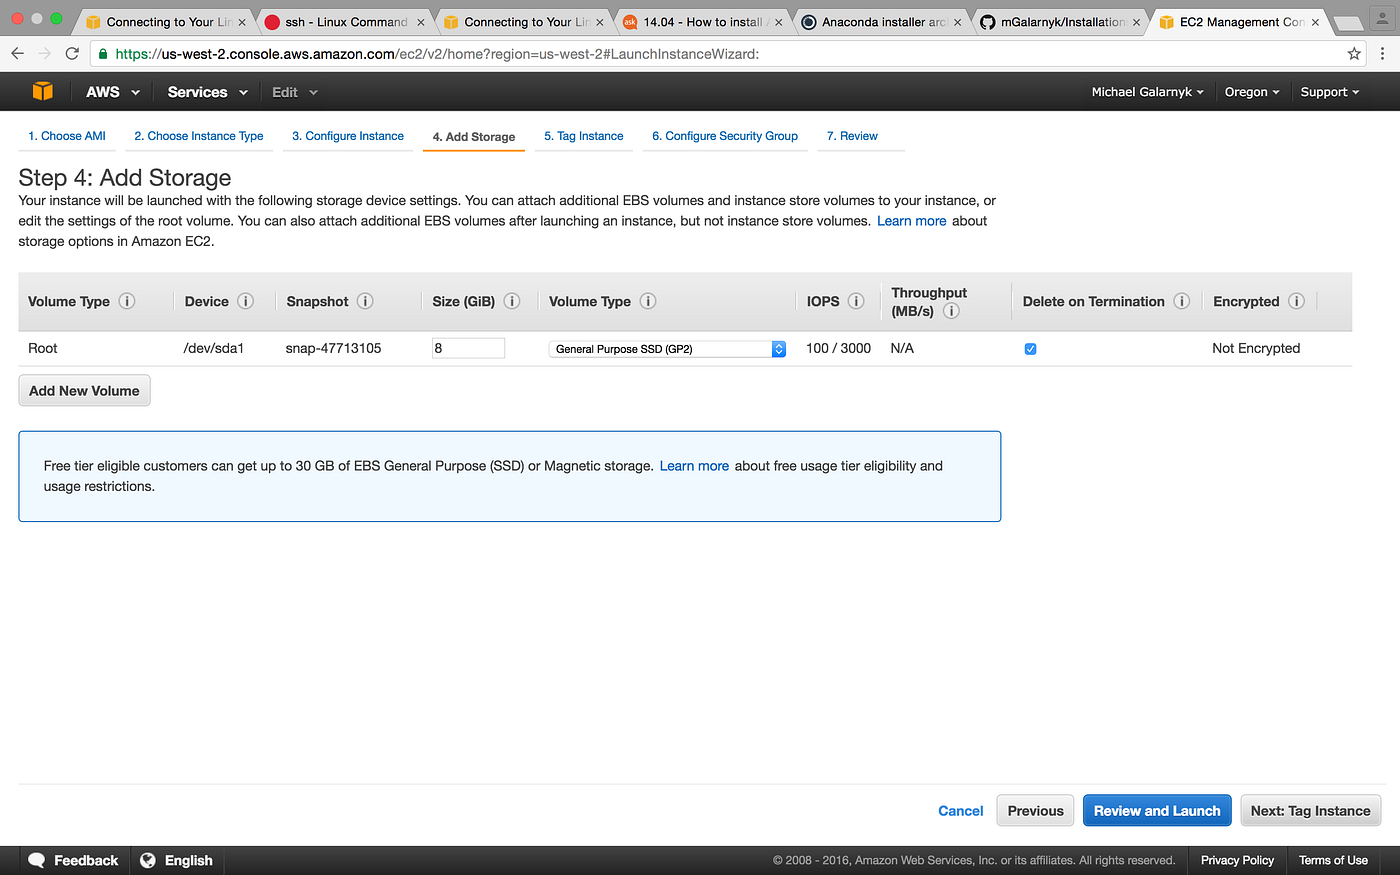
8. Add Storage if you need it
9. Add a tag if you want to
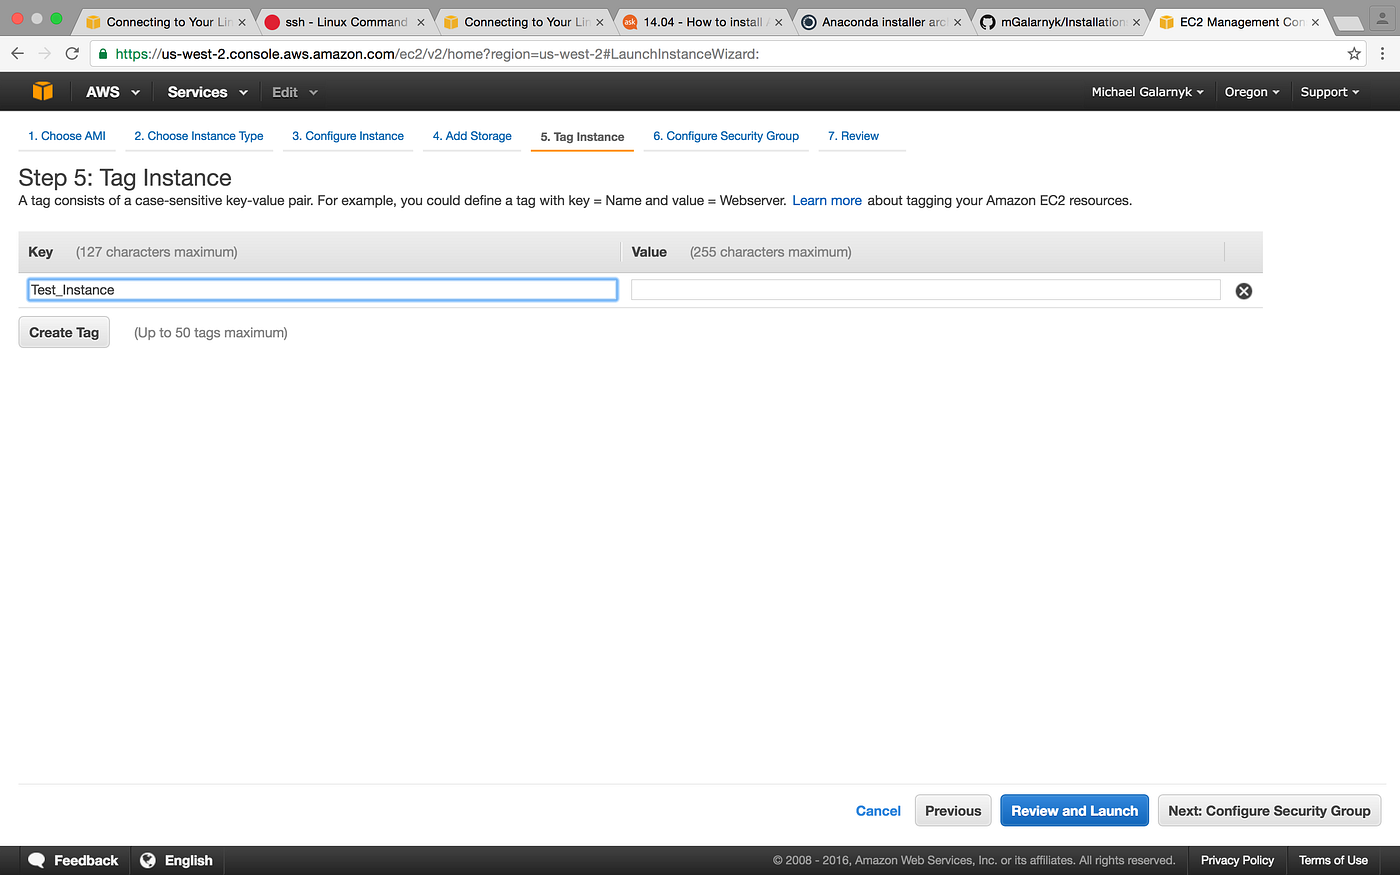
10. Launch your instance

11. Create a key pair and make sure to save it somewhere safe. You won’t be able to replace it.
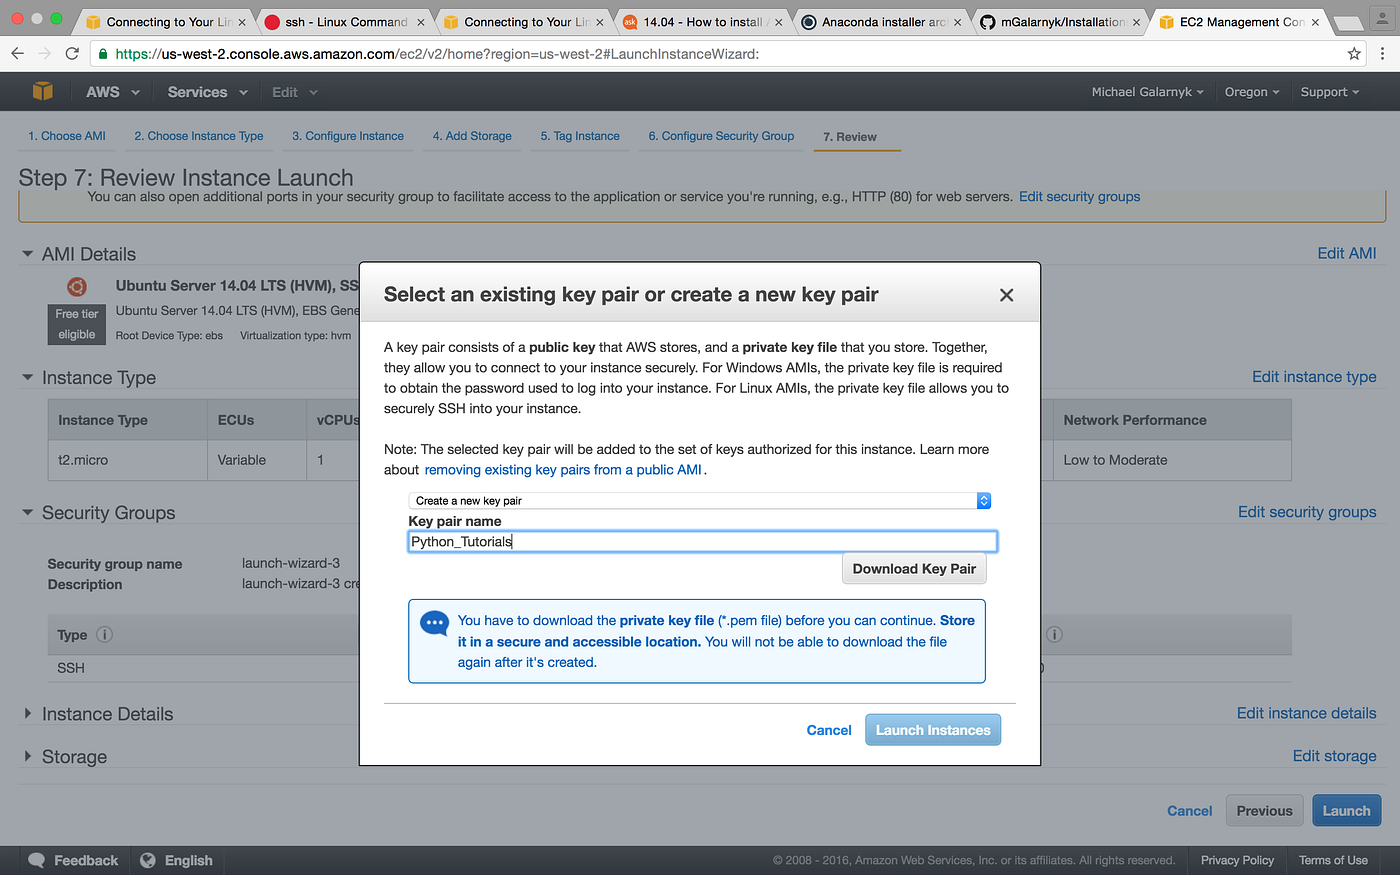
12. Launch the instance. Done!
After setting the instance, Create one subdomain and point it to the server IP.
Now This part shows you how to setup the jisti instance.
Prerequisites: All traffic must allow for all ports in AWS.
- wget -qO — https://download.jitsi.org/jitsi-key.gpg.key | sudo apt-key add –
- sudo sh -c “echo ‘deb https://download.jitsi.org stable/’ > /etc/apt/sources.list.d/jitsi-stable.list”
- apt-get install apt-transport-https
- sudo apt-get -y update
- sudo apt-get -y install jitsi-meet
Enter: Jitsi meet url after pointing to server ip
To implement Free ssl (Letsencrypt ssl)
cd /usr/share/jitsi-meet/scripts/
./install-letsencrypt-cert.sh
And it’s done. You can check while opening the URL in your browser. You don’t have to make an account with your email id just share the URL or meeting code with your friends and chat freely and safely.
Author: Vinamra Mittal
Visit the link to read more from Vinamra Mittal: https://medium.com/@Vinamra.mittal15
Subscribe to stay ahead with the latest updates and entrepreneurial insights!
Share this article:


Subscribe to our newsletter
Get access to the latest industry & product insights.
You may be interested in these articles
-
Yelo28th December 2023
Want to develop an Uber like app? Know the costHow much does it cost to develop an Uber like app? We come across this question.. [..]Read story
-
Jungleworks1st June 2023
College graduate cracks Philippines’s tough market with JW hyperlocal stackRome and his team Meet Rome Dela Rosa. Rome is a young entrepreneur from.. [..]Read story
-
Jungleworks24th May 2023
Flash Delivery increases online sales by 45% with YeloFlash Delivery, also known as MJs, is a popular convenience store in the UK... [..]Read story
-
Jungleworks18th May 2023
How will Hyperlocal commerce disrupt eCommerce?E-commerce has been growing rapidly in recent years, and it is now one of the.. [..]Read story